Normally when we read a book, we subconsciously connect the dots between various narratives. It’s what makes plot twists really powerful: the climactic moment the dots finally connect. That realization is what writers live for.
A strong narrative has connections between all parts of the story. Character developments, directions, realizations done by each character and much more.
As readers, we get excited when we can connect those on our own.
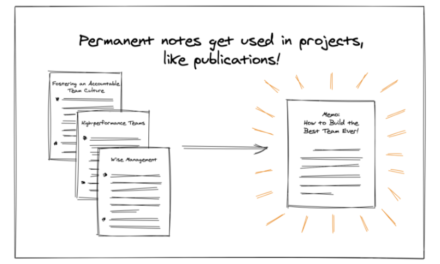
And for the writer, Roam helps us to make these connections visible.
Here is how I use Roam to draft the outline and main points for my short story fiction podcast, Tempered Fables.
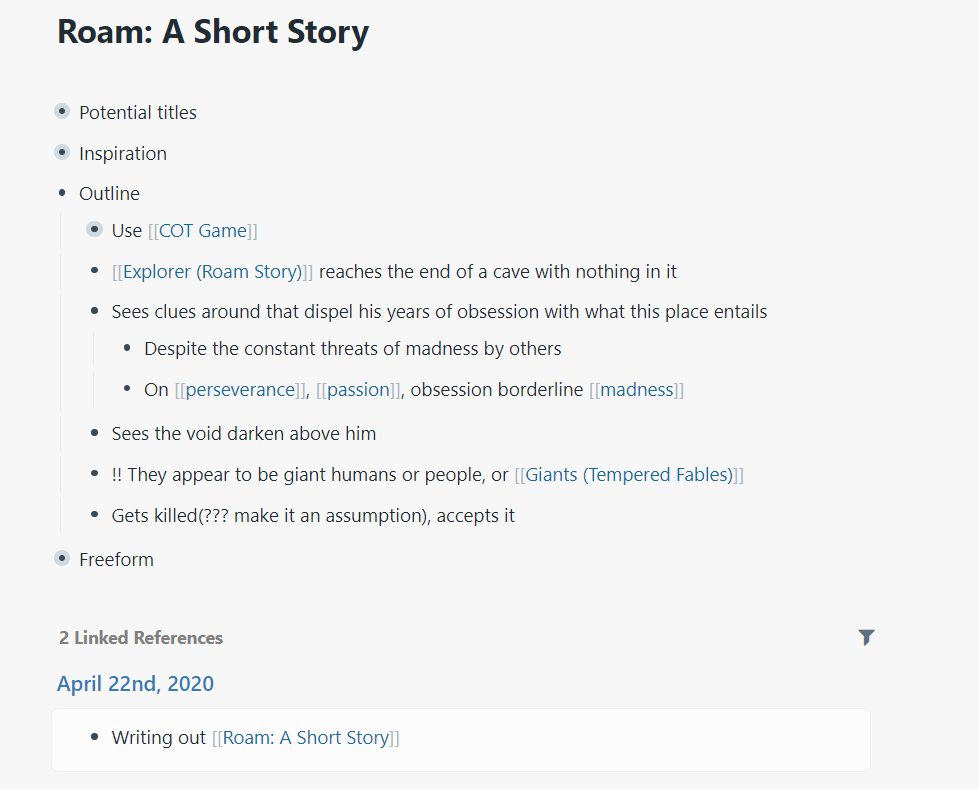
The structure of a short story Roam page
I work with three main sections on a short story Roam page:
- Outline
- Main Story
- Freeform.
Designing the outline
I start off with an outline. It’s a general arc of what will happen in the story.
In my case it’s this.
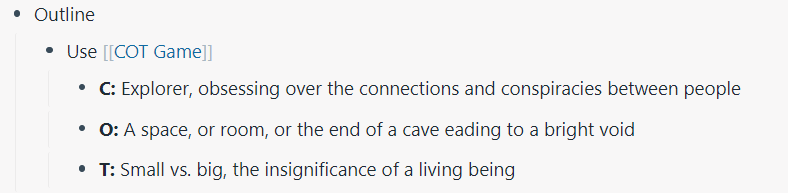
To help me start, I designed a tool called the COT Game. The letters stand for:
- Character
- Object
- Theme
Character is self-explanatory. We can have many, we can have one. For the sake of the short story, we’ll limit it to the main character.
Object is an item that the character will interact with throughout their time in the story. It could be an object of fascination, or a metaphysical object (ie. a memory from a long time ago). Really, anything you want!
Theme is what weaves the story together. Is it a concept that you want to explore? Is it a phrase that you’ve been thinking of recently?
These are guides to help me with writing the story.
Creating the character
When designing characters to be used in a story, we’ll need a character sheet. I have a set of attributes saved as templates in my Roam to be copy-pasted into every new character made.
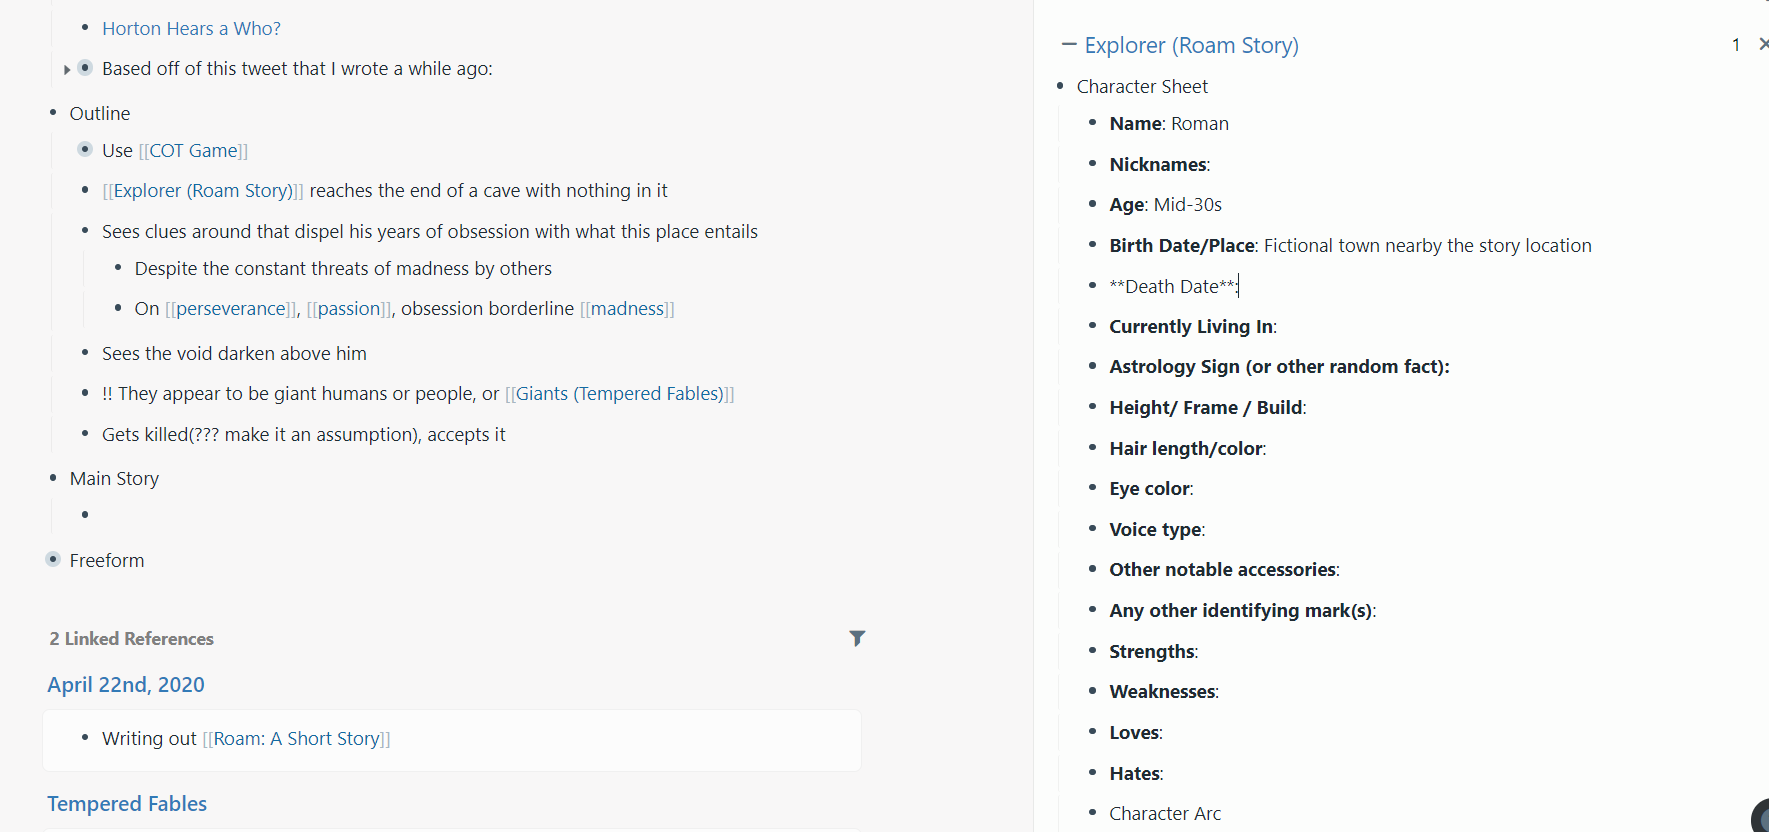
These are general attributes that you might use in a full-length novel but, for the sake of clarity, I won’t have to fill out all of these for a short story. There are a few important elements to write in like character arc, realisations, beliefs and more. It depends on your story.
I have this in the sidebar as a reference when I want to write character dialogue. I’m always asking myself:
- What would this character say here?
- What’s the worst thing that could happen?
- Why would they agree/disagree here?
and more. We are always exploring all the possibilities while drafting.
Filling in the story
Having decided on the outline, I then move on to the Main Story section in my Roam page.
I start off by copying a linked version of the Outline text into the Main Story section by:
- highlighting all the text in the Outline section
- right-clicking on one of the highlighted bullet points
- clicking on ‘Copy Block Refs’
- and then pasting the text into the Main Story section.
Alternatively you can just copy and paste the Outline text, which allows you to change it.
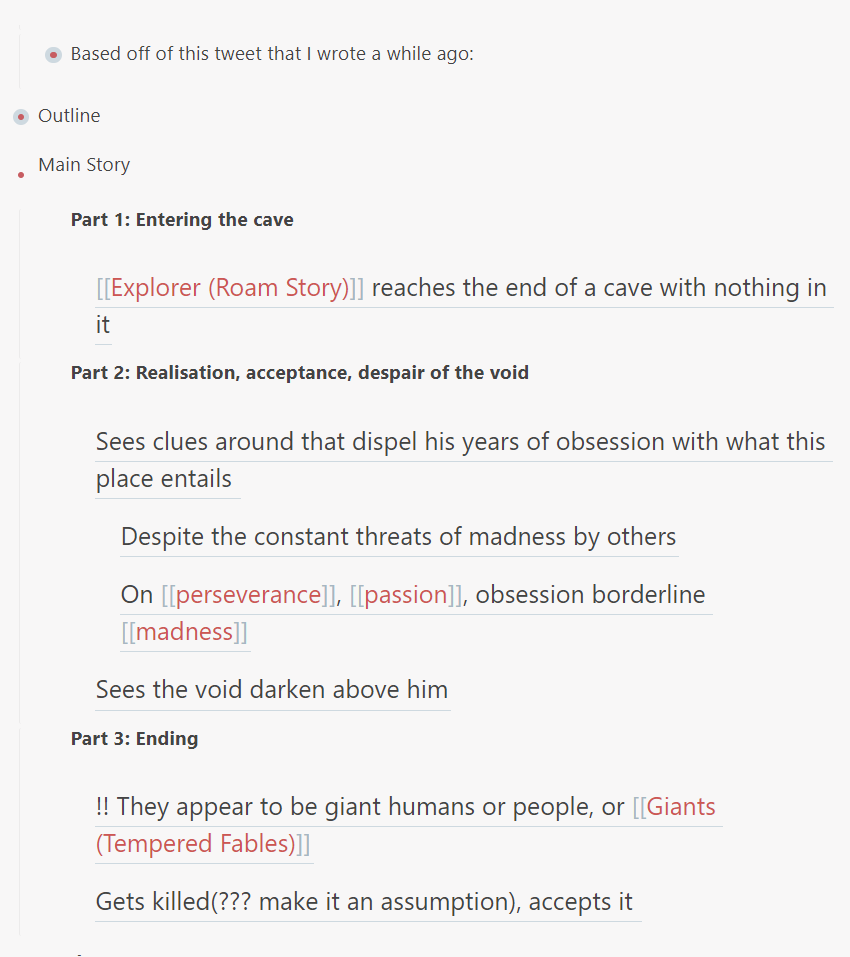
I will then start working in more detail on the outline. As you can see below, I have divided the story into three different parts.
Writing the story
I next move on to freeform writing.
Writers tend to write a lot of crap on the first go. As the saying goes: “The ore is in the drafting, the gold in the editing”.

Organizing my freeform writing
I then take what I have written freeform and start moving it into the appropriate part of the story.
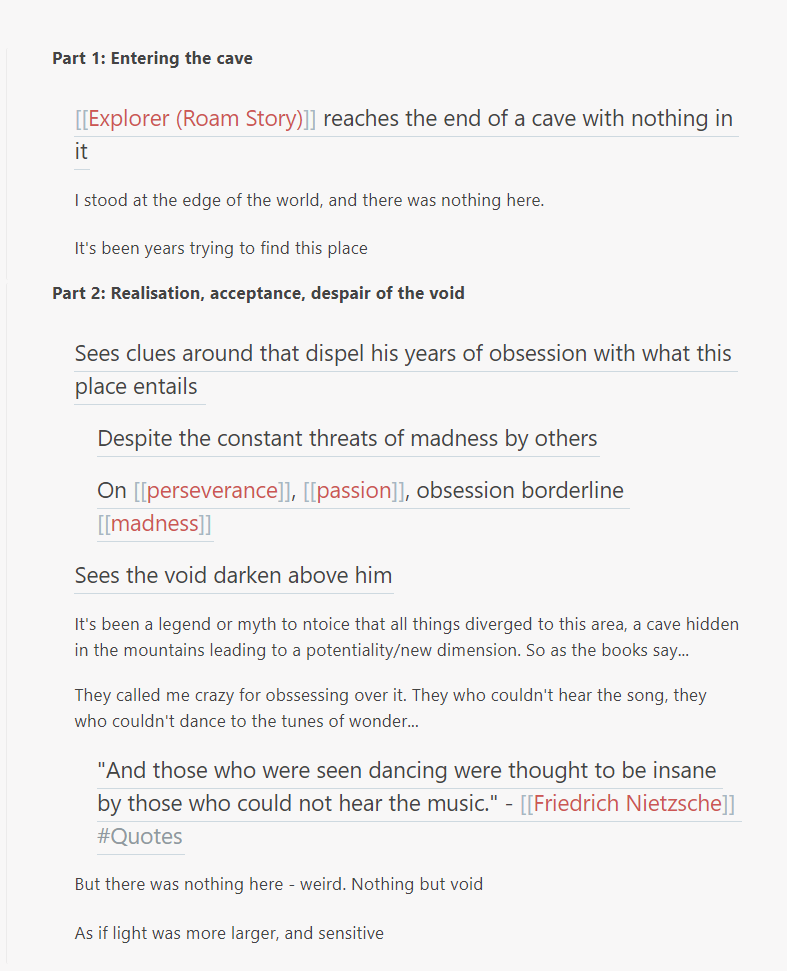
I add more dialogue and continue on from there.
Roam’s basic formatting features play different roles depending on the writer. In my case, bolds and italics represent new character voices, emphasis and change in tonality, and more. It helps to visualize it well when turned into a podcast script.
Some personal tips for writing a story
Start with the outline
This is the backbone of your story. Similar to main points that one might cover in an article, your outline is an overview of your narrative. If the story doesn’t work as an outline, then it won’t work as a full-fledged story. Roam really helps with this!
Set word limits on your beginning and ending
Get straight to the meat of the story. That’s how readers are captured: thrown right into the scene, making sense of things. The narrator reveals piece by piece, each one more valuable than the last.
You want this happening in the middle. Of course, a strong beginning is necessary, but that’s all it is: a lead to the center of the story. You can set word counts in Roam for each section to make sure you’re on track.
You do this by adding {{word-count}} to a block. If you put this in a top-level block, the words in any nested blocks underneath it will also be counted.
For example, in a ~3,000 word story, you can have 250 words each for the beginning and ending as a guide. It’s not a hard rule. Its role is to remind you when you should get to the juicy parts!
Write from the ending
This is my preference, and it’s a cryptic one. Because I already know what will happen at the end, I can explore the many different options to get to that point. Very important when you’re writing fast, letting words out, and not having any expectations on writing.
As long as I’m set with the main point I’m driving home, and the ending I chose, anything up to that point is fair game.
Write fast and forget. Re-read and edit
Your first draft will always be crap. That’s great. Write it, don’t worry.
No one’s watching you when you’re writing this story the first time. Anything goes, as long as you have the ending in mind.
Put it away once you are done with the first draft, close Roam for a day or two (if you can), and come back to it with a fresh start. That way, you’ll know what to refine when it comes to editing. What can be shorter? Which parts are boring? Which bits have more impact, which don’t?
These tips have served me well.
I’ll update this article with the finished story. Until then, keep roaming!